Angry Birds style game in Unity 3D (source code included)

This tutorial is meant for educational purposes only to showcase how to build certain types of games. Please respect the copyrights/trademarks of others!

If you are in a hurry, you can try the game here and check the source code here.

Last time I posted something around Angry Birds was 3 years ago, when I blogged about a 5’ creation of Angry Birds with 0 lines of code using XAML, Behaviors and Expression Blend. Well, it wasn’t exactly a clone, but it simulated on how to implement some basic dragging/collision/particles functionality with the Farseer Physics Engine. This blog post serves as an attempt to create a single level (with reusable components, long live the prefab!) of Angry Birds using Unity 3D platform. The game features a single level, 3 birds for the user to throw, 3 pigs that the user has to destroy, parallax backgrounds, a maximum strength for the bird (we cannot drag the bird more than a predefined distance), animations with the help of the excellent GoKit library, a projection of the trajectory of the bird (so we can more or less predict where it’ll land), the user’s ability to drag the screen to see the entire scene, pinch to zoom ability (for multitouch devices)  and a small trail that is left by the bird when it’s thrown.

image_thumb4_37DE4480

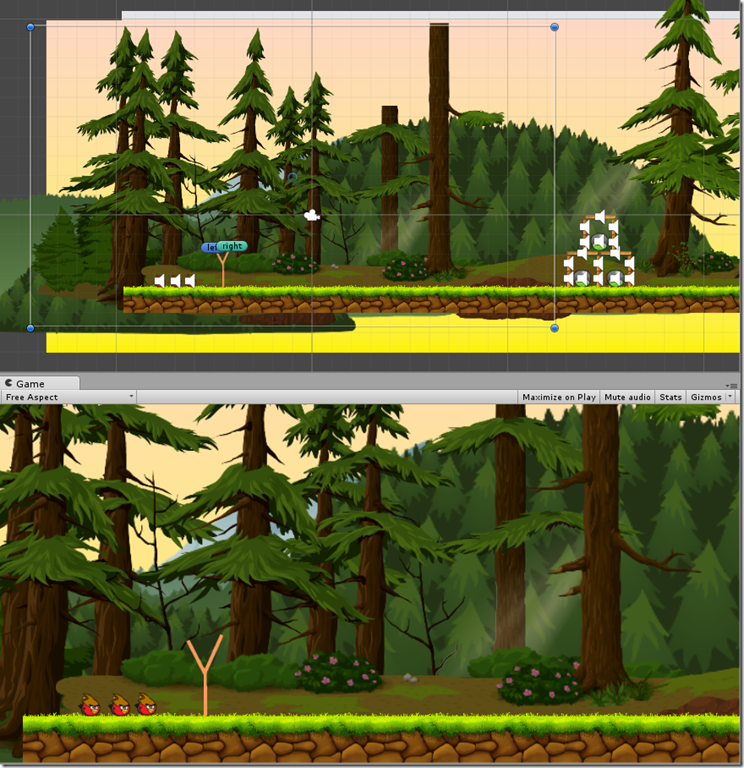
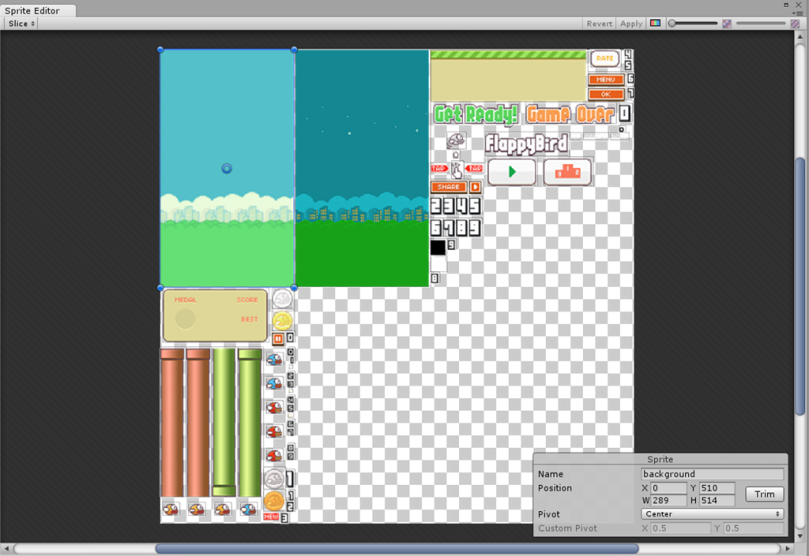
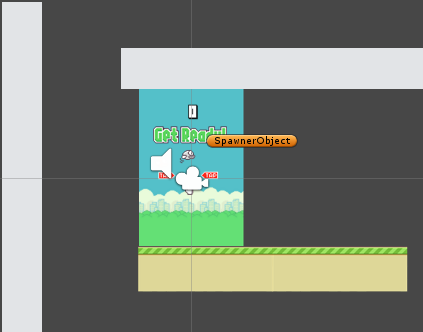
Game scene in the Unity editor

image_thumb5_49132F86.png

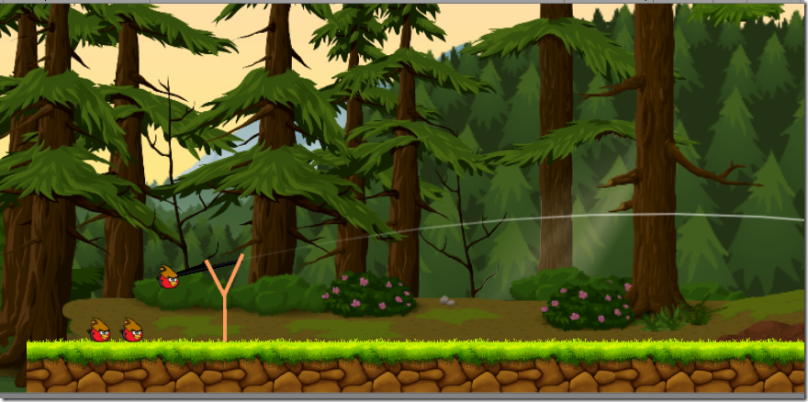
The projected trajectory

image_577FD3ED.png

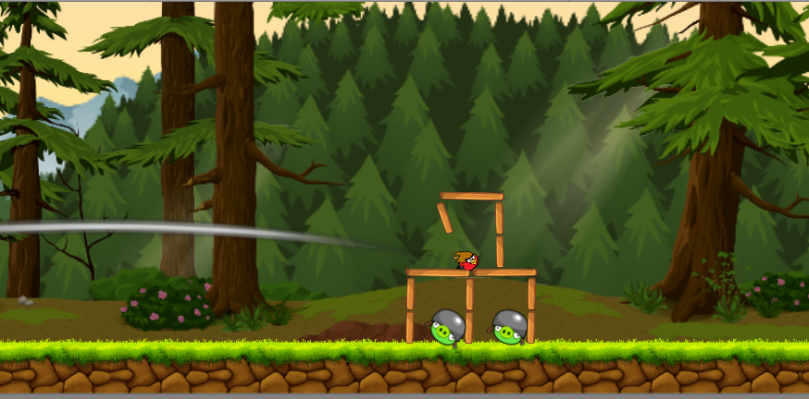
The trail left by the bird

Before we begin, let’s mention the necessary stuff! Angry Birds, the red birds and the pigs are all registered assets trademarks of Rovio and this blog post serves no other than education purposes.

Game code was written in Visual Studio (check the free Community edition here). For debugging purposes, don’t forget to check the Visual Studio tools for Unity here.

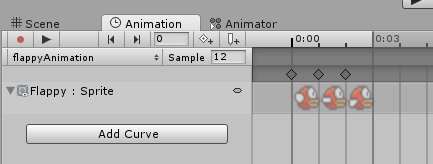
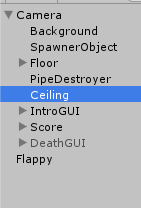
Onto the game! It’s a pretty big game, we’ll attempt to cover most of the stuff. We’ll begin with examining our scene in the editor. As always, it would be better if you opened the game in Unity and examined all relevant parts as the post walks you through them.Read More »

A Flappy Bird style game in Unity (source code included)

This tutorial is meant for educational purposes only to showcase how to build certain types of games. Please respect the copyrights/trademarks of others!

Update: If you’re trying the downloaded game in Unity 5, uncheck the “Apply Root Motion” on the Animator component on the flappy GameObject and everything should work like a charm.

Unless you’ve been living in a cave or visiting outer space, you have certainly played Flappy Bird, one of the most successful games for mobile devices. Hence, I decided to give it a shot and recreate it using Unity. Needless to mention that all graphics and sounds found in the tutorial are used only for educational purposes and do not intend to harm any intellectual property at all circumstances. The sprite sheet used was found here http://www.spriters-resource.com/mobile/flappybird/sheet/59894/  whereas the sounds were found here: https://www.sounds-resource.com/mobile/flappybird/sound/5309/

Game code was written in Visual Studio (check the free Community edition here). For debugging purposes, don’t forget to check the Visual Studio tools for Unity here.

So, let’s start  with the small tutorial! This game’s development has many aspects, we’ll attempt to touch all of them one by one. First of all, we used Unity’s spritesheet editor to “slice” the spritesheet and get references to specific sprites

image_2F509071.png

Then, we created a small animation to simulate the flight course of the bird (this can be easily accomplished if you drag-drop the relevant sprites into the scene).

image_6E47326E

Now, let’s take a more detailed look at our scene. We have various objects made children of our perspective camera and the Flappy bird.

image_05090AA9image_0D2036FERead More »

Simple Puzzle Game in Unity (source code provided)

I had blogged in the past about a simple puzzle game in XNA. Nothing better than to recreate it in Unity with a tutorial, of course! To begin with, here’s a screenshot of the game running on the editor

image

The purpose of the game is to tap/click on the pieces next to the empty one so that they exchange positions. It goes on and one until you make the pieces appear as in the original photo. Since you are reading this article, I suppose you most probably are a novice Unity user. The following Microsoft Virtual Academy video might be useful for you: http://www.microsoftvirtualacademy.com/training-courses/developing-2d-3d-games-with-unity-for-windows-jump-start

To begin with, we’ll need a photo. The best way to save yourself from copyright issues and not having to read licenses etc is to use a photo that you took! So, we need to slice it. For this purpose, we’ll use Unity’s native 2D tools and its sprite editor.

image

Once we set the sprite mode to multiple, we can use the sprite editor to ‘slice’ our image. Since the image does not have an alpha channel, we’ll use Grid slicing. Moreover, we’ll name our exported sprites with a name that contains their location information (i.e. piece-0-0 => this implies that the sprite’s “correct” location is on the top left corner of our game). Plus, we’ll set each sprite’s pivot point to be top left, since this will help us in positioning.

imageRead More »